Achieving a flawless manicure with nail polish can be an art form. Whether you’re a beginner or a seasoned pro, knowing the right techniques for applying and maintaining your nail polish is essential for achieving the perfect, long-lasting manicure. From prepping your nails to adding the finishing touches, this guide will walk you through every essential step to get salon-quality results at home. Plus, we’ll explore why professional services like those offered by Bedashing Beauty can elevate your nail care routine to the next level.
Prepping Your Nails for a Flawless Finish
The first and most important step to a stunning manicure is proper nail preparation. Without prepping your nails properly, even the highest quality nail polish won’t adhere well, and your manicure won’t last as long. Here’s what you need to know to get your nails ready for perfect polish.
Why Nail Preparation is Crucial
Proper nail preparation ensures that your nails are in the best condition for your nail polish to adhere to and stay put. Prepping your nails removes dirt, oil, and leftover polish, providing a smooth and clean base for your new manicure. Without this step, you may find that your polish chips quickly, or your nails appear uneven and dull.
Step 1 – Remove Old Polish the Right Way
Before you apply new nail polish, it’s important to remove any old polish. Opt for an acetone-free remover to protect your nails and avoid harsh chemicals. Soak a cotton pad with the remover, hold it against the nail for a few seconds, and gently wipe off the old polish. This helps avoid stripping your nails and ensures your new color goes on smoothly.
Step 2 – Clip, File, and Buff for a Perfect Shape
Now that your nails are clean, it’s time to shape them. Depending on your personal preference, you can clip your nails to your desired length and shape, whether square, round, or almond-shaped. Always file your nails in one direction to avoid causing splits or weakening them. Buffing your nails also helps smooth out any ridges and provides a clean surface for your nail polish to stick to.
Step 3 – Hydrate and Protect Your Cuticles
Hydrating your cuticles is crucial for maintaining nail health. Dry cuticles can lead to painful hangnails and cracks, which can affect the overall look of your manicure. Use a nourishing cuticle oil or cream to keep them moisturized and healthy. Avoid cutting your cuticles, as this can lead to infection—just gently push them back with a cuticle stick for a neat appearance.
The Perfect Nail Polish Application Process
Once your nails are prepped, it’s time to dive into the application process. Follow these steps for an impeccable, long-lasting manicure.
Step 1 – Start with a Base Coat
A base coat serves as the foundation for your nail polish. It helps protect your nails from staining, provides a smooth surface, and ensures better adhesion for the polish. Make sure to choose a base coat that suits your nails—whether you’re looking for extra strength, protection from yellowing, or a hydrating formula.
Step 2 – Mastering the Three-Stroke Polish Technique
When applying your nail polish, always start by loading the brush with a generous amount of polish. Apply the first stroke down the center of your nail, then add one stroke to the left and right sides of the nail. This technique ensures even application, prevents streaks, and covers your entire nail without excessive buildup.
Step 3 – Layering for Maximum Coverage
The key to an even and vibrant manicure is layering. Apply a thin first coat of polish, then wait for it to dry for about 2-3 minutes before applying a second coat. Depending on the opacity of the nail polish, 2-3 coats should be enough to achieve perfect coverage. Be careful not to apply thick layers, as this can lead to smudges and uneven drying.
Step 4 – Sealing the Deal with a Top Coat
Once your polish is dry and you’re happy with the coverage, it’s time to apply a top coat. A top coat seals in your color, providing an extra layer of protection that helps prevent chips and scratches. You can opt for a glossy finish for a sleek, shiny look or a matte top coat for a trendy, sophisticated finish.
Special Nail Polish Techniques & Troubleshooting
Even with the best preparation and application techniques, there are certain challenges you may face. Here are some special techniques and troubleshooting tips to help you overcome them.
Applying Glitter Polish Without the Mess
Glitter nail polish can be a fun and sparkly addition to your manicure, but applying it without making a mess can be tricky. The best way to apply glitter polish evenly is with the sponge method. Apply a small amount of glitter polish to a makeup sponge and gently press it onto your nails for a neat and even application.
Creating a Matte Nail Look
If you prefer the chic, modern look of matte nails, you can easily achieve it by using a matte top coat. After applying your regular nail polish, simply apply a matte top coat for a beautiful, velvety finish.
Avoiding Common Nail Polish Mistakes
Smudges, streaks, and bubbles are common nail polish mistakes that can ruin a perfectly good manicure. To avoid these, make sure to allow each layer of polish to dry completely before applying the next. To prevent air bubbles, gently roll the polish bottle between your palms instead of shaking it. If you make a mistake, don’t fret—simply use a nail polish remover pen to clean up the edges.
Pro Tips for Long-Lasting Nail Polish
Achieving a longer-lasting manicure isn’t just about the polish application—it’s also about maintaining your nails and taking care of them. Here are some pro tips to help your nail polish stay flawless for as long as possible.
- Seal the Nail Tips: Don’t forget to apply a thin layer of polish over the tips of your nails. This helps prevent chips and extends the wear time of your manicure.
- Ice Water Trick: For faster drying, dip your freshly painted nails in ice-cold water for a few minutes. This can help speed up the drying process.
- Touch Up Chips: If you notice a chip in your nail polish, don’t worry about redoing your entire manicure. Instead, apply a thin layer of polish over the chipped area, followed by a new layer of top coat.
Professional Nail Care for Perfect Nails
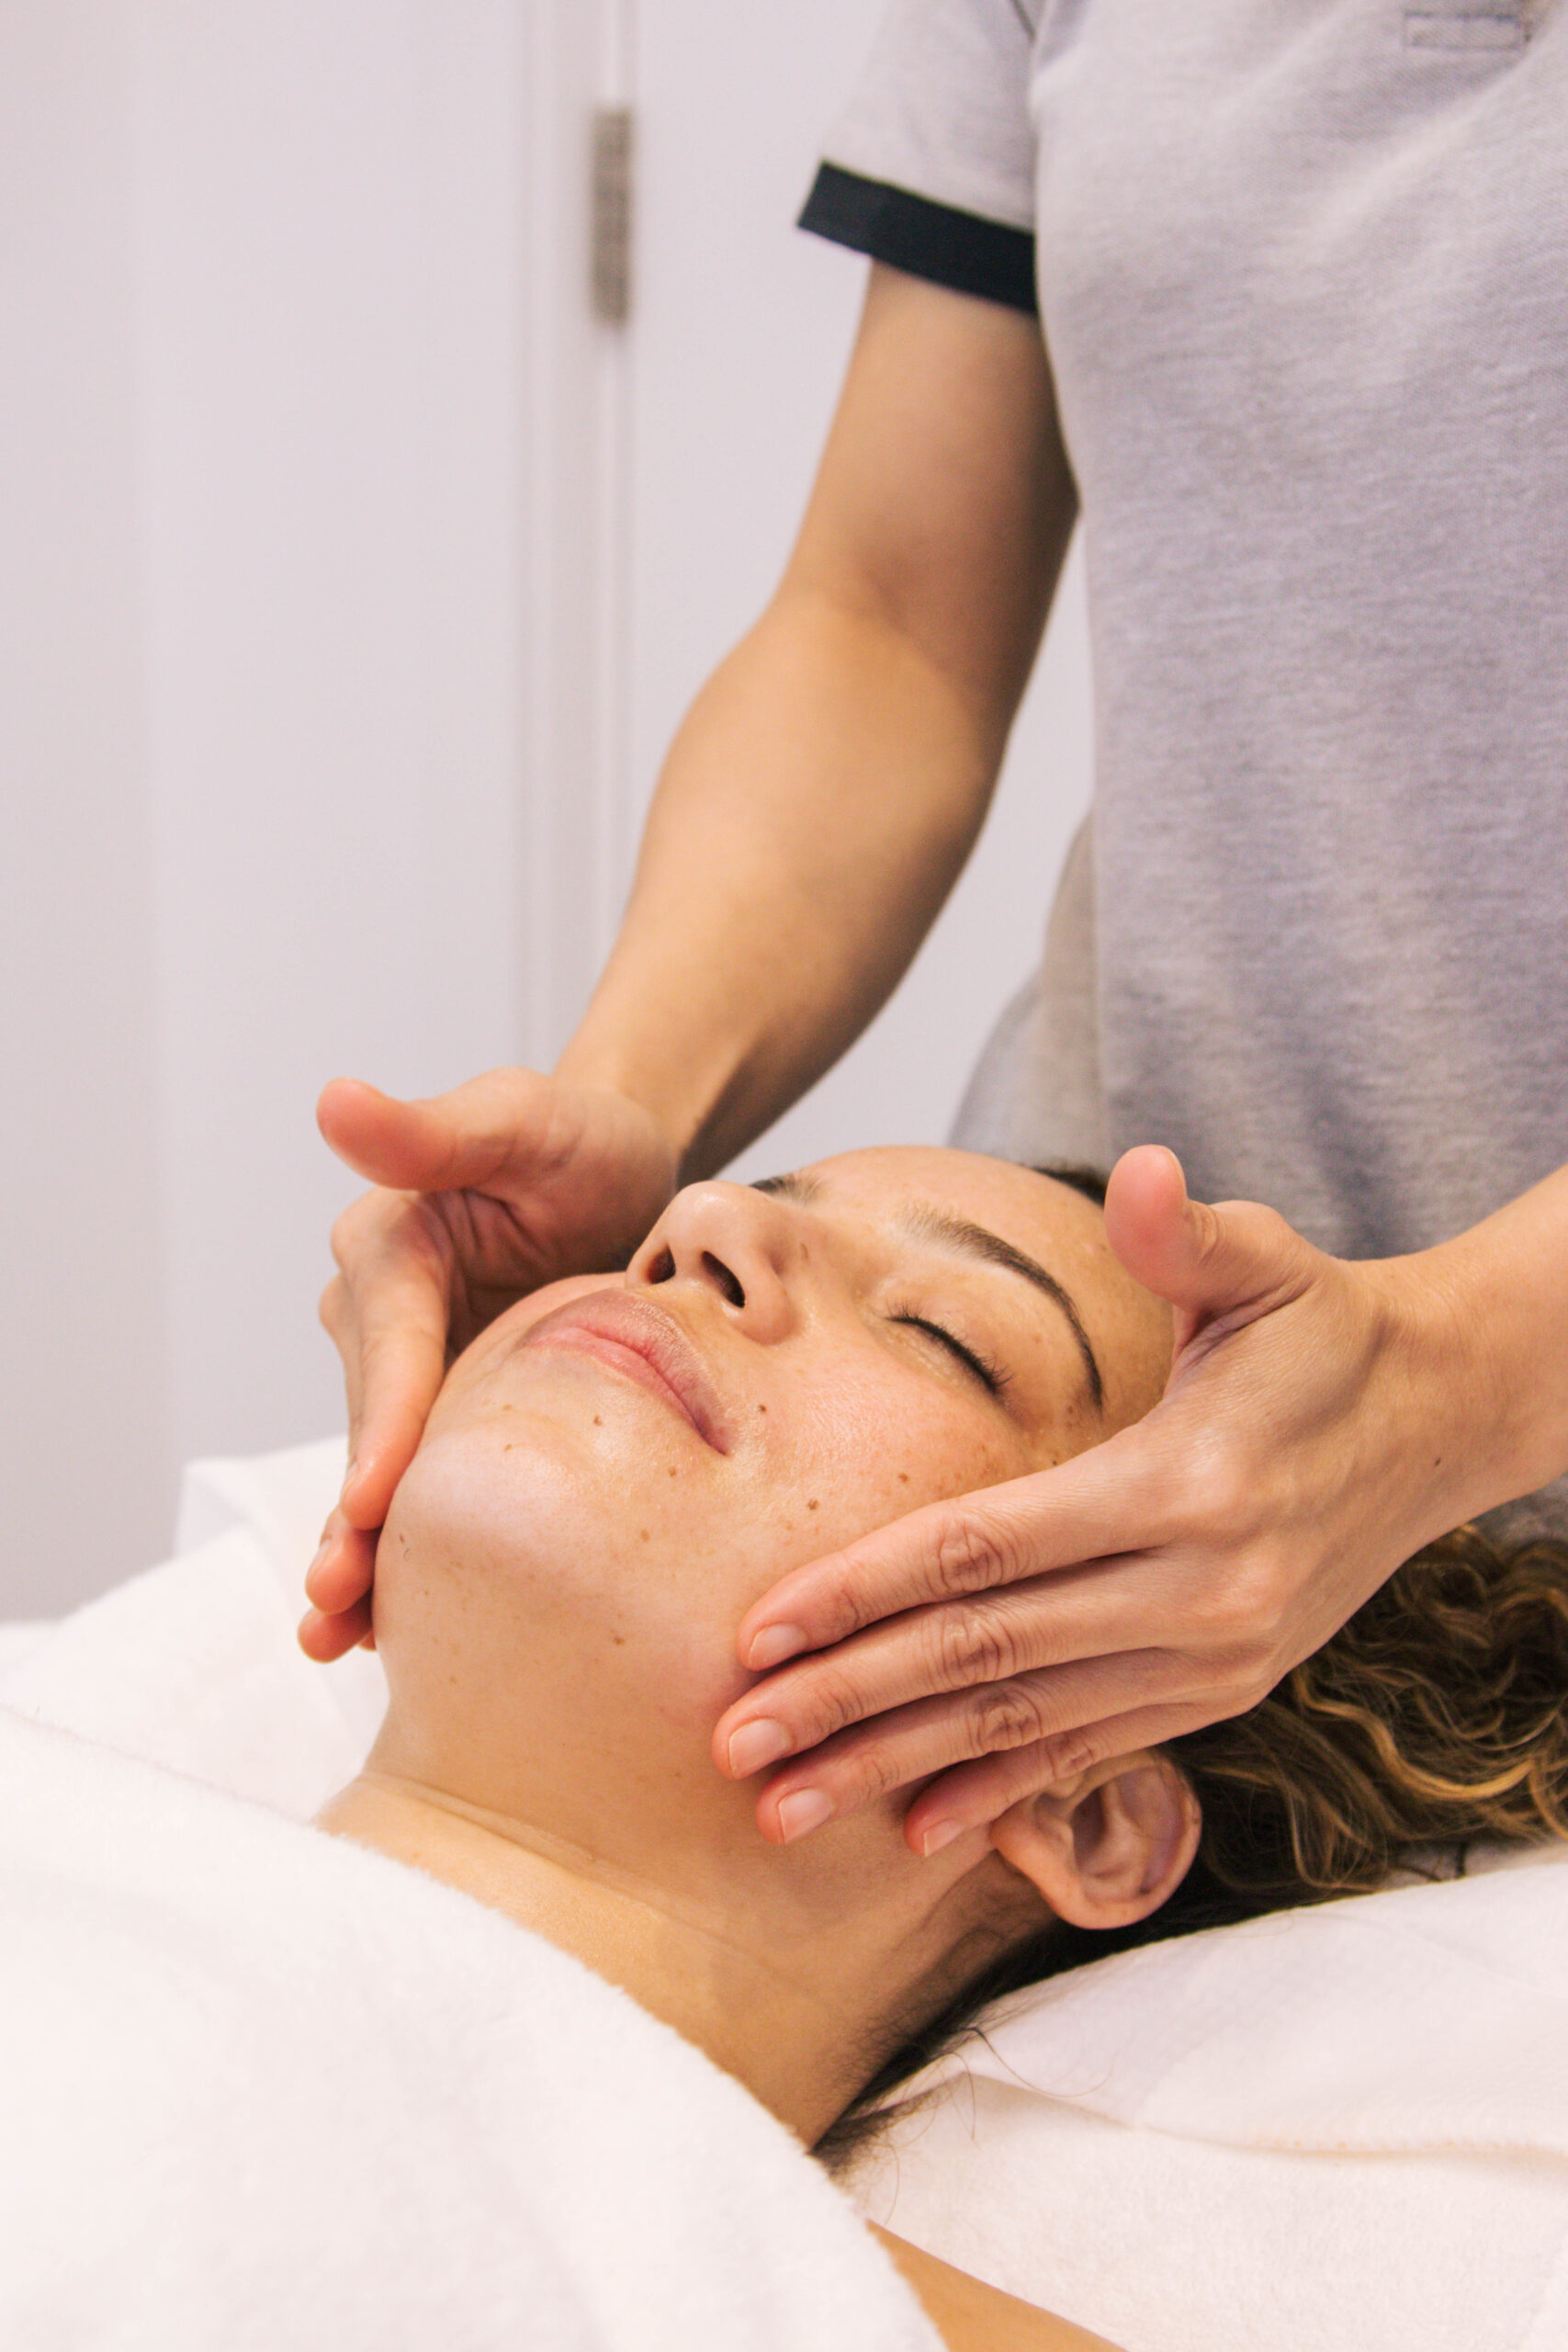
Sometimes, a professional touch is just what your nails need to look their best. Additionally, if you’re looking for expert facial treatment in Dubai to complement your beauty routine, professional services can elevate your experience.
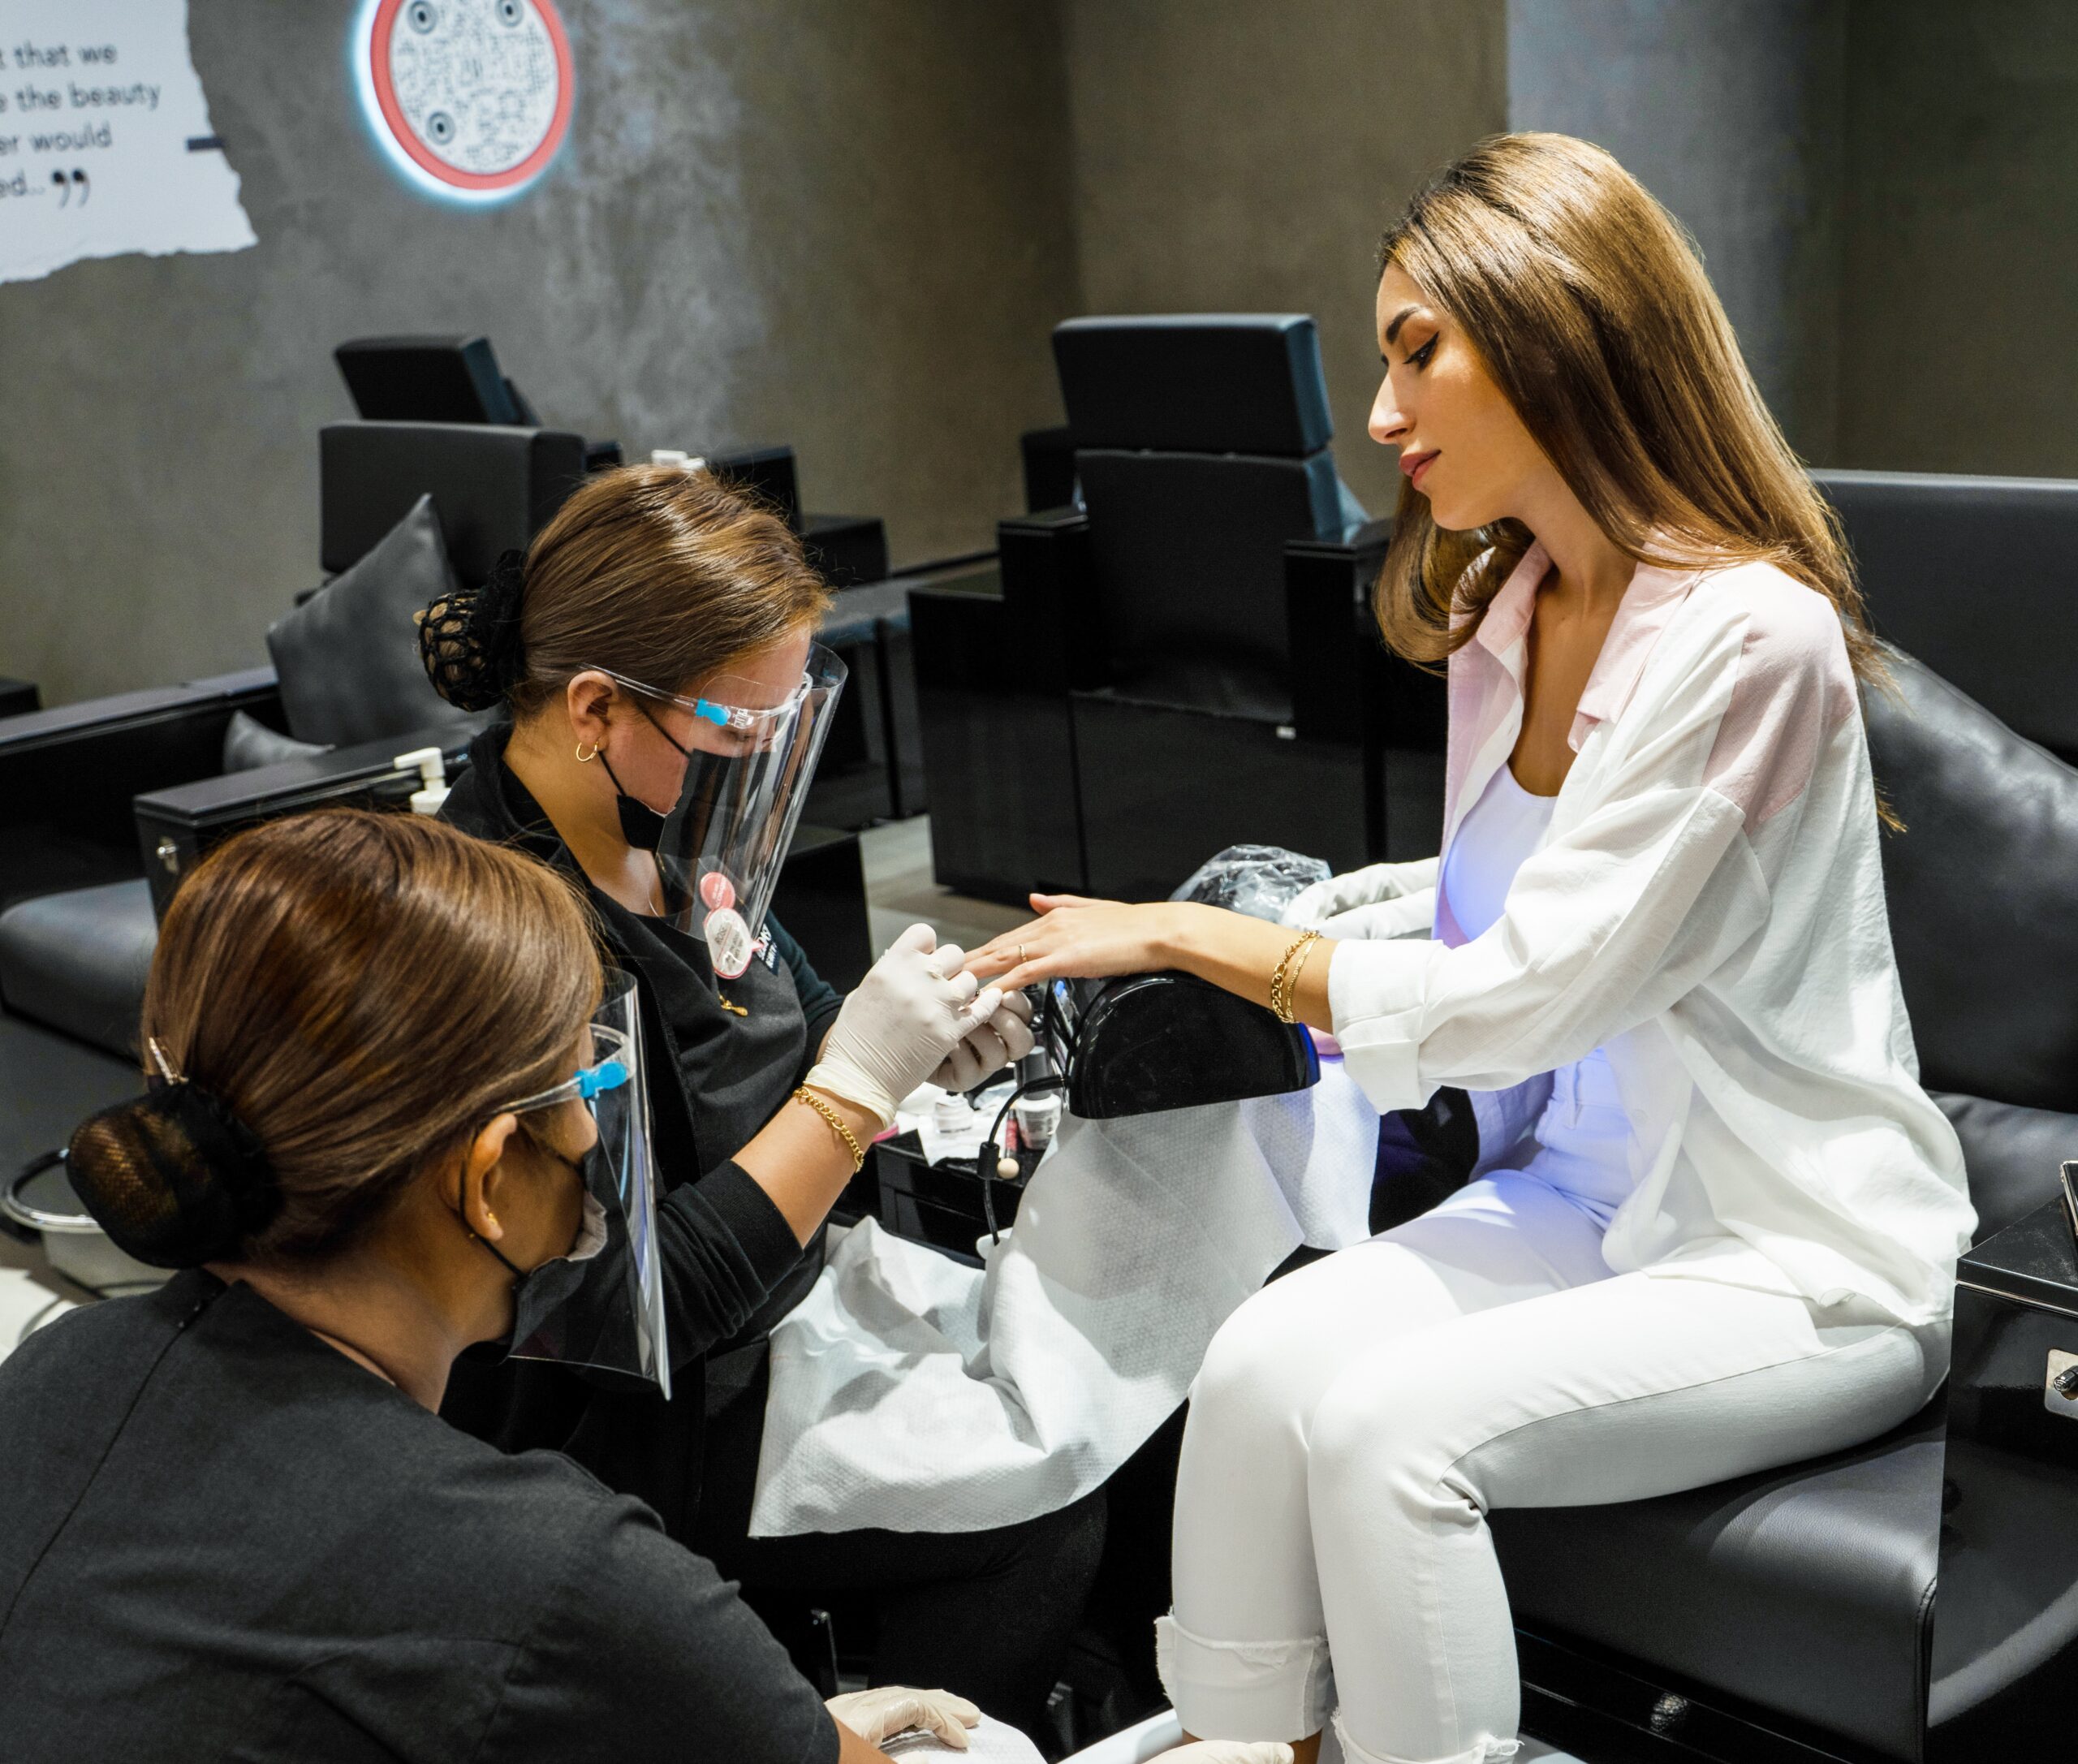
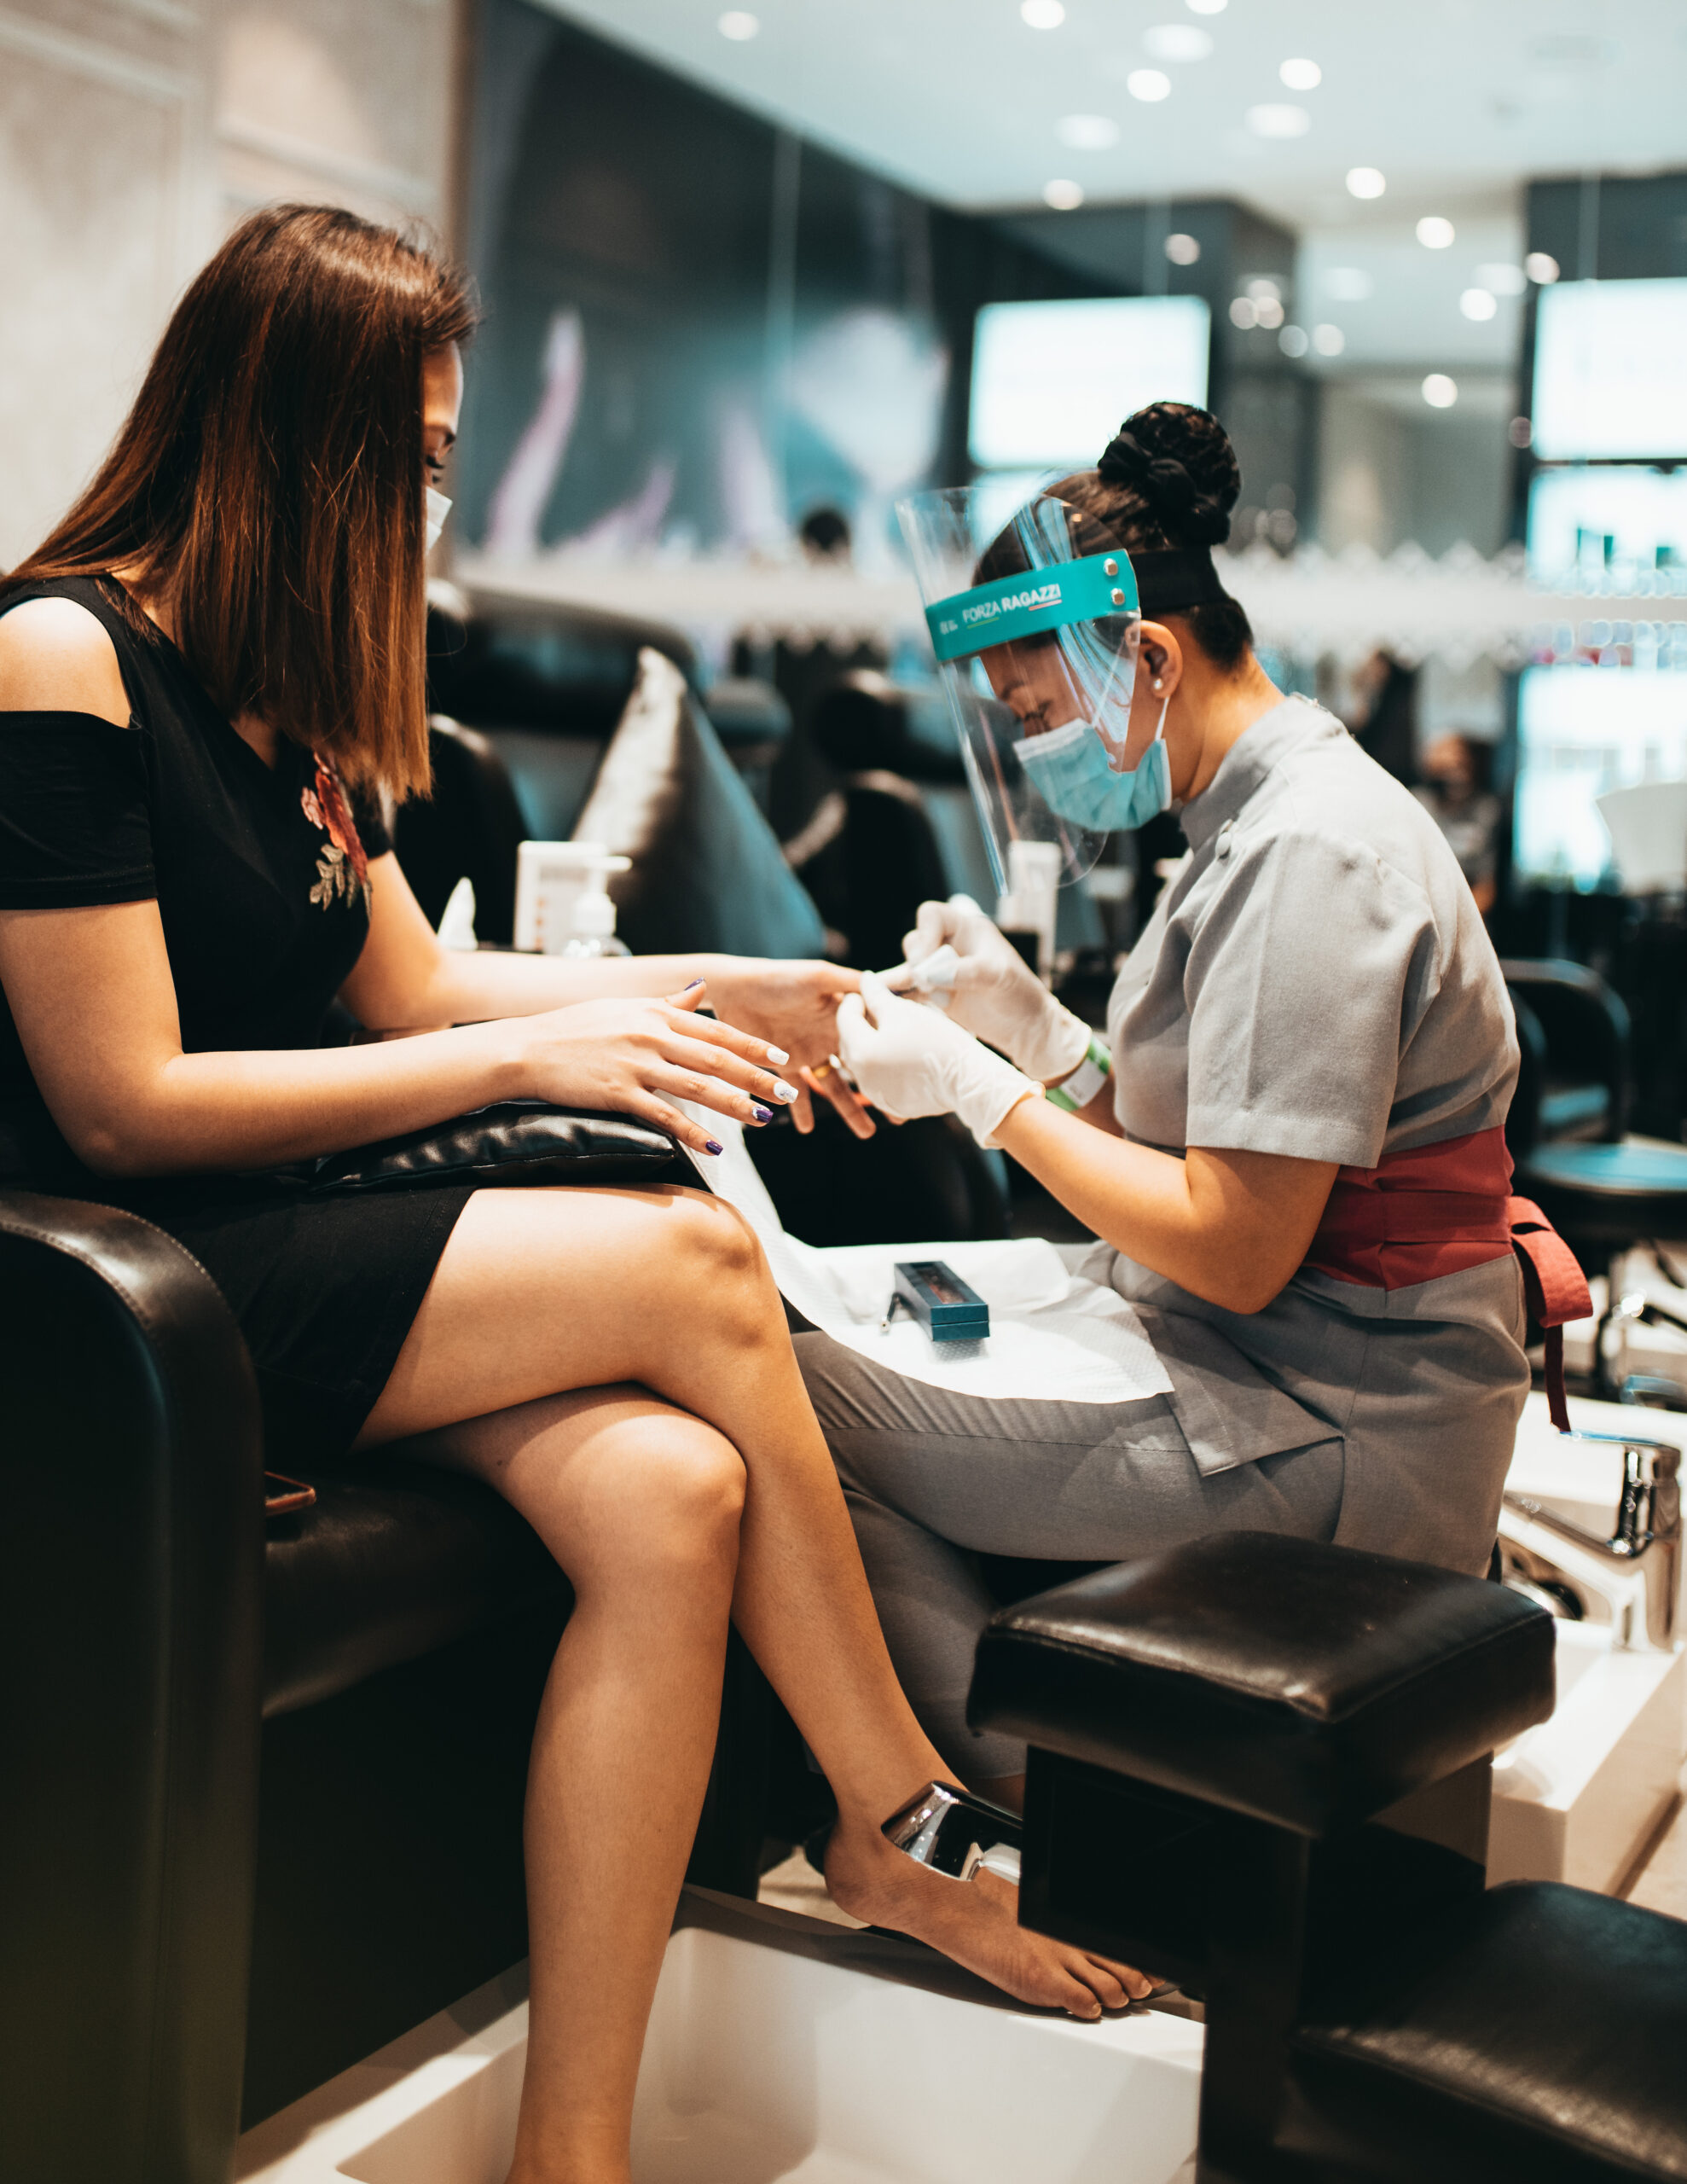
Why Salon Manicures Are Worth It
While you can achieve great results at home, salon manicures offer precision and high-quality products that are often unavailable for DIY use. Professional nail technicians are trained to provide expert care, ensuring your nails are healthy, strong, and beautifully manicured. Additionally, salons offer specialized treatments that can improve your nail health, such as paraffin wax treatments and gel manicures. If you’re considering an overall beauty refresh, visiting a hair salon can also enhance your look and confidence.
Experience Luxury Nail Care at Bedashing Beauty
For the ultimate nail experience, visit Bedashing Beauty for luxurious manicures, pedicures, and nail enhancements. Our expert technicians use high-quality products and the latest techniques to deliver long-lasting, stunning results. Whether you’re looking for a classic manicure, gel polish, or intricate nail art, we’ve got you covered.
Treat yourself to a professional nail service that will leave you feeling pampered and polished. Book your appointment at Bedashing Beauty today!
Note: Read our latest Blogs:
Nail Shapes | French Nails | Gel | Nail Colors | Gel Manicure vs Acrylic | Manicure at Home | What is Pedicure and Manicure? | What is a Pedicure?.
Frequently Asked Questions
Q1. How can I make my nail polish last longer?
A1. Proper nail preparation, using a base coat, and sealing the tips of your nails can help make your manicure last longer. Additionally, applying a top coat and taking care of your nails between applications will extend the life of your polish.
Q2. Should I use a base coat every time I apply nail polish?
A2. Yes! A base coat is essential to protect your nails from staining, enhance adhesion, and create a smooth surface for the polish.
Q3. How long should I wait between layers of nail polish?
A3. It’s recommended to wait 2-3 minutes between coats to allow each layer to dry properly and prevent smudging.
Q4. What is the best way to fix a chipped manicure?
A4. If your manicure chips, you can touch it up by applying a thin layer of polish to the chipped area and finishing with a new layer of top coat.
Q5. Can I apply a matte finish over any nail polish?
A5. Yes! You can apply a matte top coat over any color to achieve a chic matte finish.
Q6. How do I apply glitter polish without making a mess?
A6. Use the sponge method for applying glitter polish. Apply the glitter to a sponge and gently press it onto your nails for an even application.
Q7. What’s the best way to avoid air bubbles in nail polish?
A7. To avoid air bubbles, roll the bottle of polish between your palms instead of shaking it. This will minimize bubbles in the formula.
Q8. Is it necessary to hydrate my cuticles?
A8. Yes! Hydrating your cuticles keeps them soft, helps prevent hangnails, and promotes healthy nail growth, ensuring your manicure looks its best.