Gel nail polish has quickly gained popularity as the top choice for those seeking a long-lasting, chip-resistant, and glossy manicure. Unlike traditional nail polish, which can fade or chip within a few days, gel nail polish is designed to stay intact for weeks, offering a professional finish that is both durable and stunning.Whether you’re doing your nails at home or booking an appointment at a professional best nail salon, gel nail polish provides an ideal solution for flawless, chip-free nails.
This ultimate guide will walk you through every step of the gel nail polish process. From understanding the benefits of gel nail polish to step-by-step instructions for application, tips for removal, and aftercare recommendations, you’ll learn everything you need to achieve the perfect manicure that lasts for weeks. If you’re ready to experience beautiful nails that stay flawless for weeks, continue reading!
What is Gel Nail Polish?
Gel nail polish is a unique type of nail polish that differs significantly from traditional lacquers in both its application and durability. Unlike regular nail polish, which air dries after application, gel nail polish requires curing under a UV or LED light. This curing process causes the polish to harden and bond firmly to your nails, providing a strong, durable finish that resists chips, cracks, and peeling.
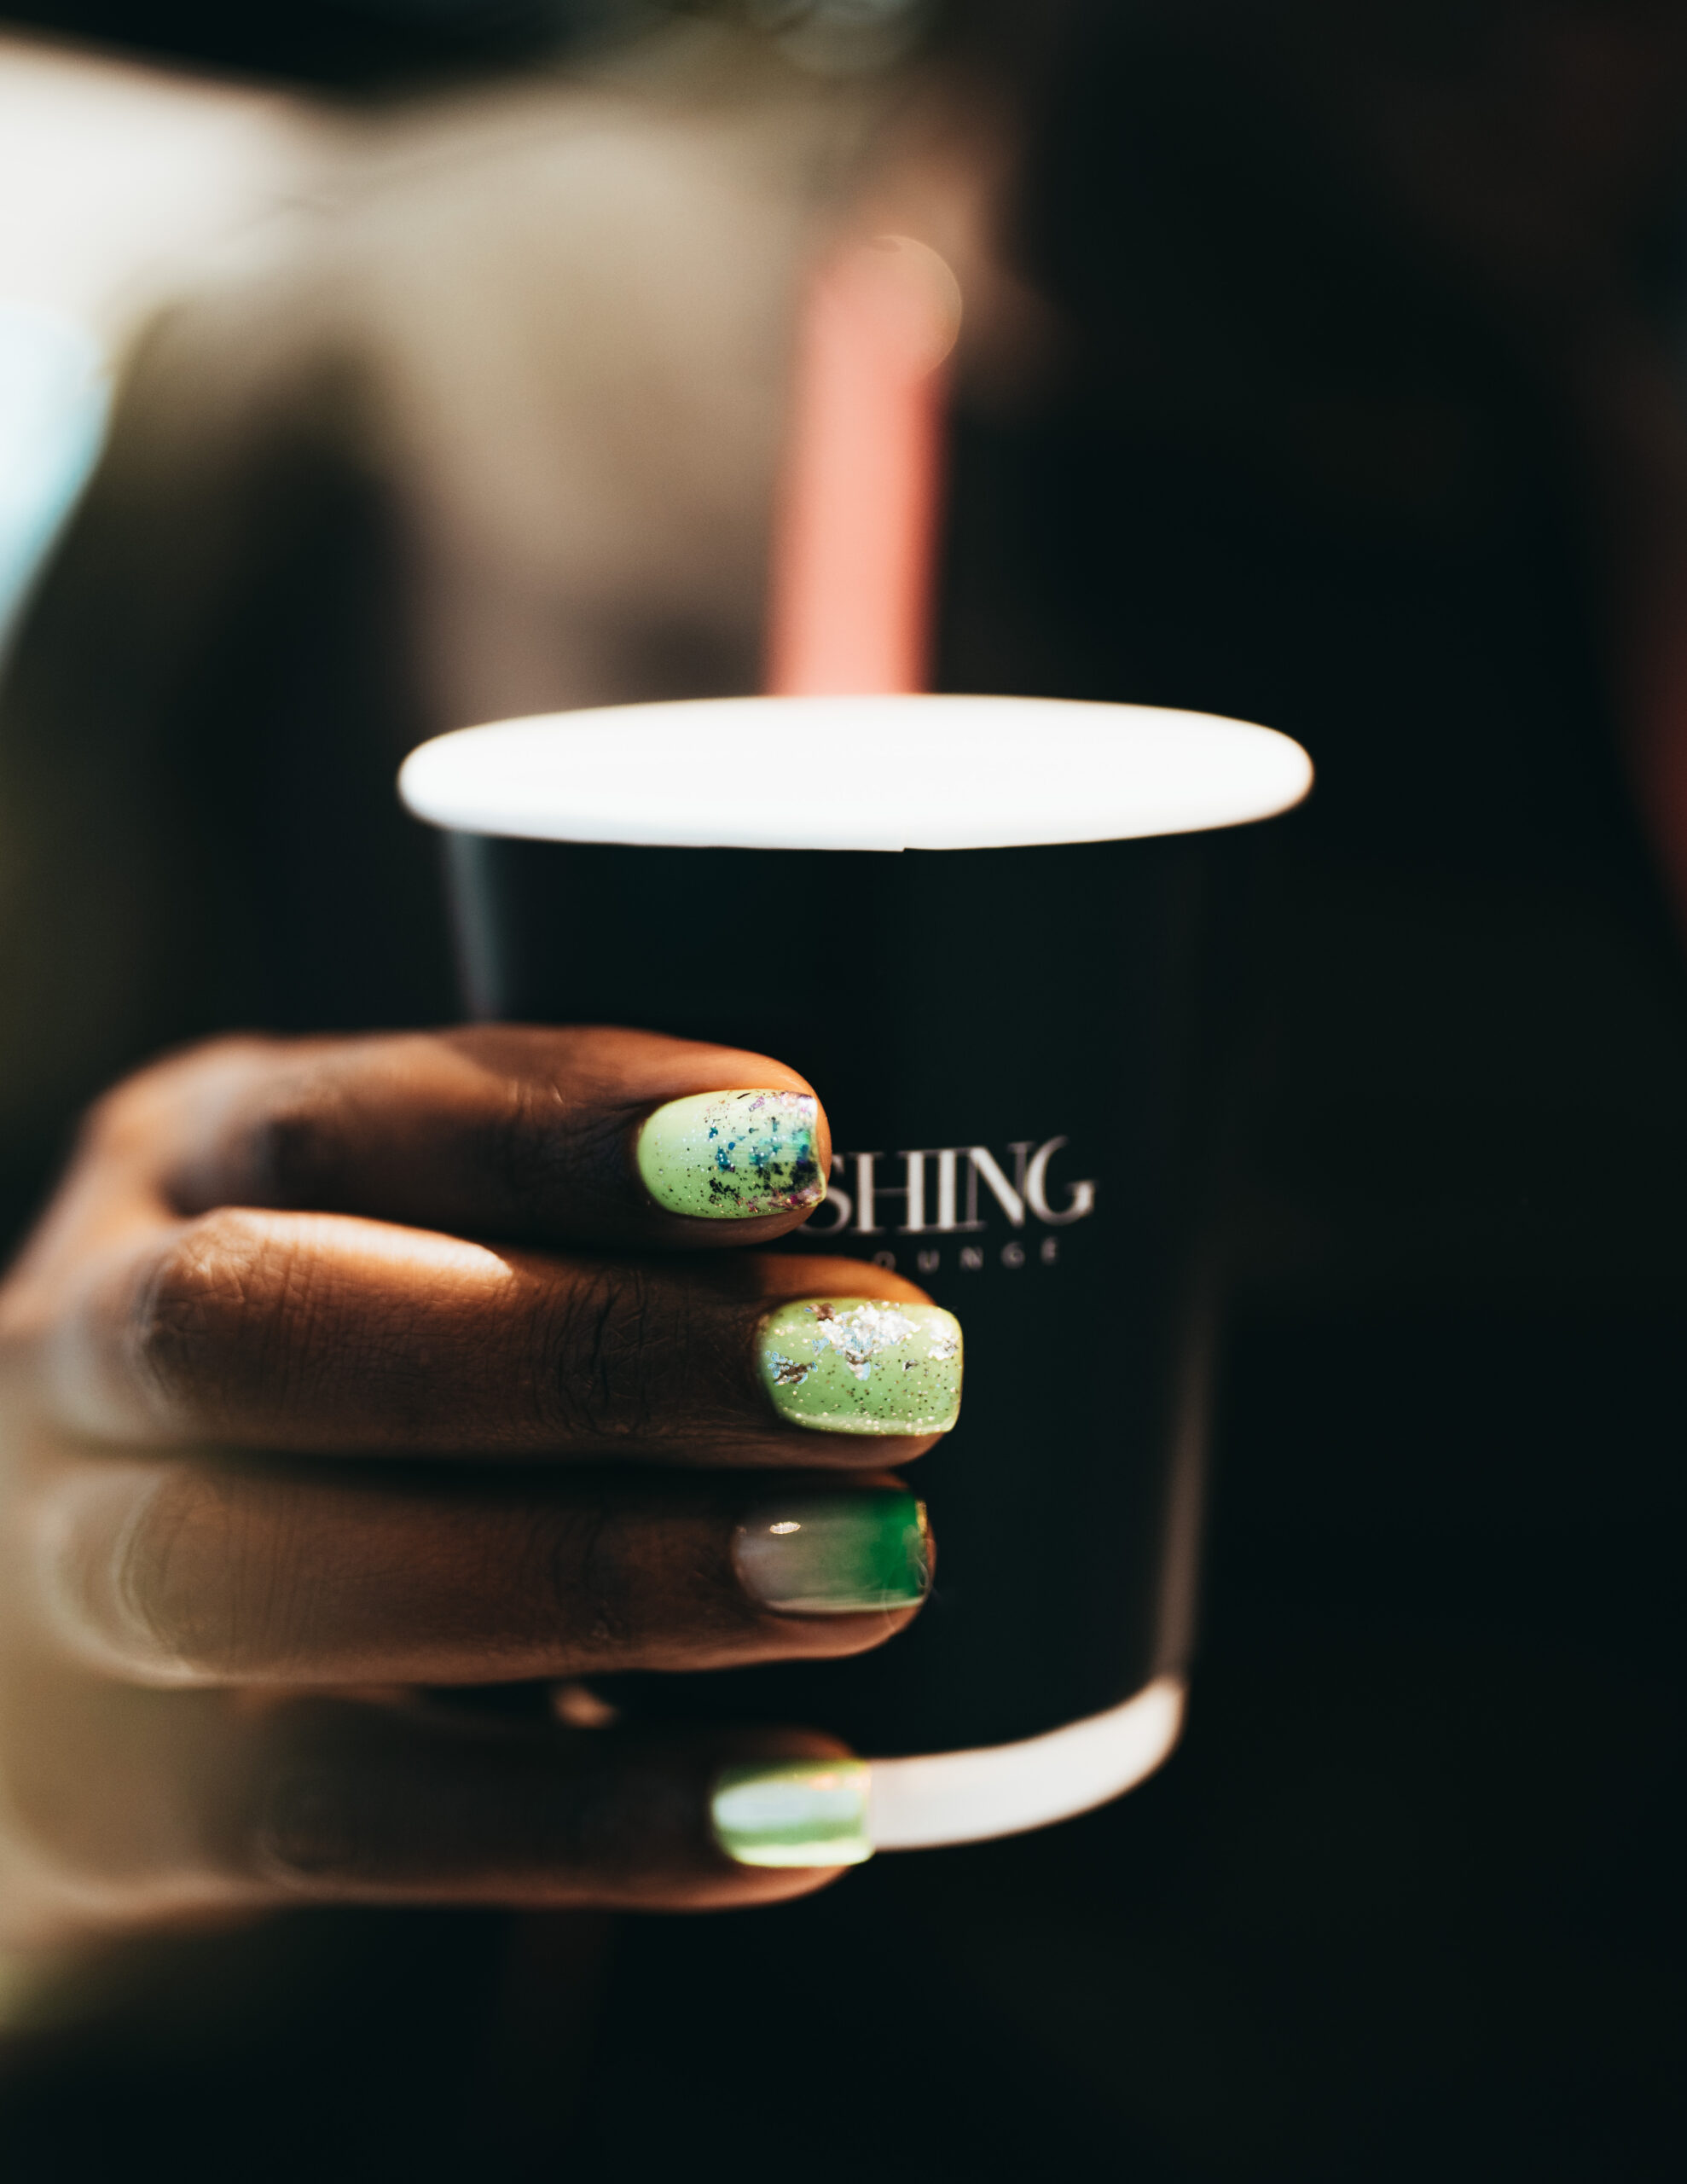
Gel nail polish is available in a wide variety of colors and finishes, and it is often used by both professionals and DIY enthusiasts alike. The primary advantage of gel polish is its ability to last much longer than conventional nail polish—usually 2-3 weeks without chipping or fading. The glossy finish that gel nail polish provides is another attractive feature, giving nails a fresh, high-shine look that maintains its vibrancy over time.
Additionally, the gel nail polish application process is quick and easy once you have the right tools and know-how. Whether you choose to apply it at home or visit a nail salon, you can enjoy long-lasting, stunning nails with minimal effort.
Benefits of Gel Nail Polish
Gel nail polish offers a range of benefits that make it a popular choice for anyone looking for a flawless manicure. Whether you’re trying it for the first time or you’ve been a fan for years, the advantages of gel nail polish are undeniable.
- Long-Lasting and Chip-Resistant: One of the most notable advantages of gel nail polish is its long-lasting nature. Unlike regular nail polish, which begins to chip and peel within a few days, gel nail polish can stay intact for 2-3 weeks without losing its shine or chipping. This makes it ideal for those with busy schedules who don’t have time for frequent touch-ups.
- High-Gloss Shine: Gel nail polish provides an incredibly glossy finish that stays vibrant throughout the wear time. Unlike regular polish, which may lose its luster over time, gel polish maintains its sleek, shiny appearance without dulling or fading. This makes it perfect for those who want their nails to look fresh and polished for an extended period.
- Quick Drying: Under a UV or LED light, gel nail polish dries much faster than regular polish, making it less likely that you’ll smudge or accidentally ruin your manicure. The curing process hardens each layer of gel polish almost instantly, meaning you don’t have to wait around for long periods.
- Variety of Colors and Styles: Gel nail polish is available in a vast array of colors and finishes. Whether you prefer a classic look or something more bold and creative, there’s a gel nail polish option for everyone. Additionally, gel polish is often used for nail art, offering endless possibilities for designs and decorations that are easy to achieve and long-lasting.
- Salon Quality at Home: With the right tools and a little practice, you can achieve professional-grade results at home with gel nail polish. Many people find that they can save money and time by performing their gel manicures themselves, enjoying salon-quality nails without the salon price tag.
Step-by-Step Guide to Applying Gel Nail Polish at Home
Applying gel nail polish at home is easier than you may think. With the right tools and a bit of practice, you can achieve a beautiful, long-lasting manicure right in your own home. Here’s a detailed step-by-step guide to help you apply gel nail polish like a pro:
1. Gather Your Supplies
Before you begin, it’s essential to have all the necessary tools to ensure a smooth application process. Here’s a list of what you’ll need:
- Gel nail polish (Base coat, color, top coat)
- UV/LED lamp for curing
- Nail buffer and file
- Cuticle pusher
- Acetone for removal
- Lint-free wipes or nail prep solution
2. Nail Preparation
Preparation is key to a flawless gel manicure. Here’s how to get your nails ready:
- Shape and File: Start by filing your nails to your desired length and shape. Whether you prefer square, round, or almond-shaped nails, make sure to file them evenly for a polished look.
- Push Back Cuticles: Use a cuticle pusher to gently push back your cuticles. This will help the polish adhere better and prevent lifting at the edges.
- Buff the Nails: Lightly buff your nails with a nail buffer to create a smooth, even surface. This will ensure that the gel polish adheres properly and lasts longer.
- Cleanse Your Nails: Use a lint-free wipe or a nail prep solution to remove any oils, dust, or debris from your nails. This will ensure that the gel polish applies evenly and adheres well.
3. Applying Gel Polish
Once your nails are prepped and ready, it’s time to apply the gel polish:
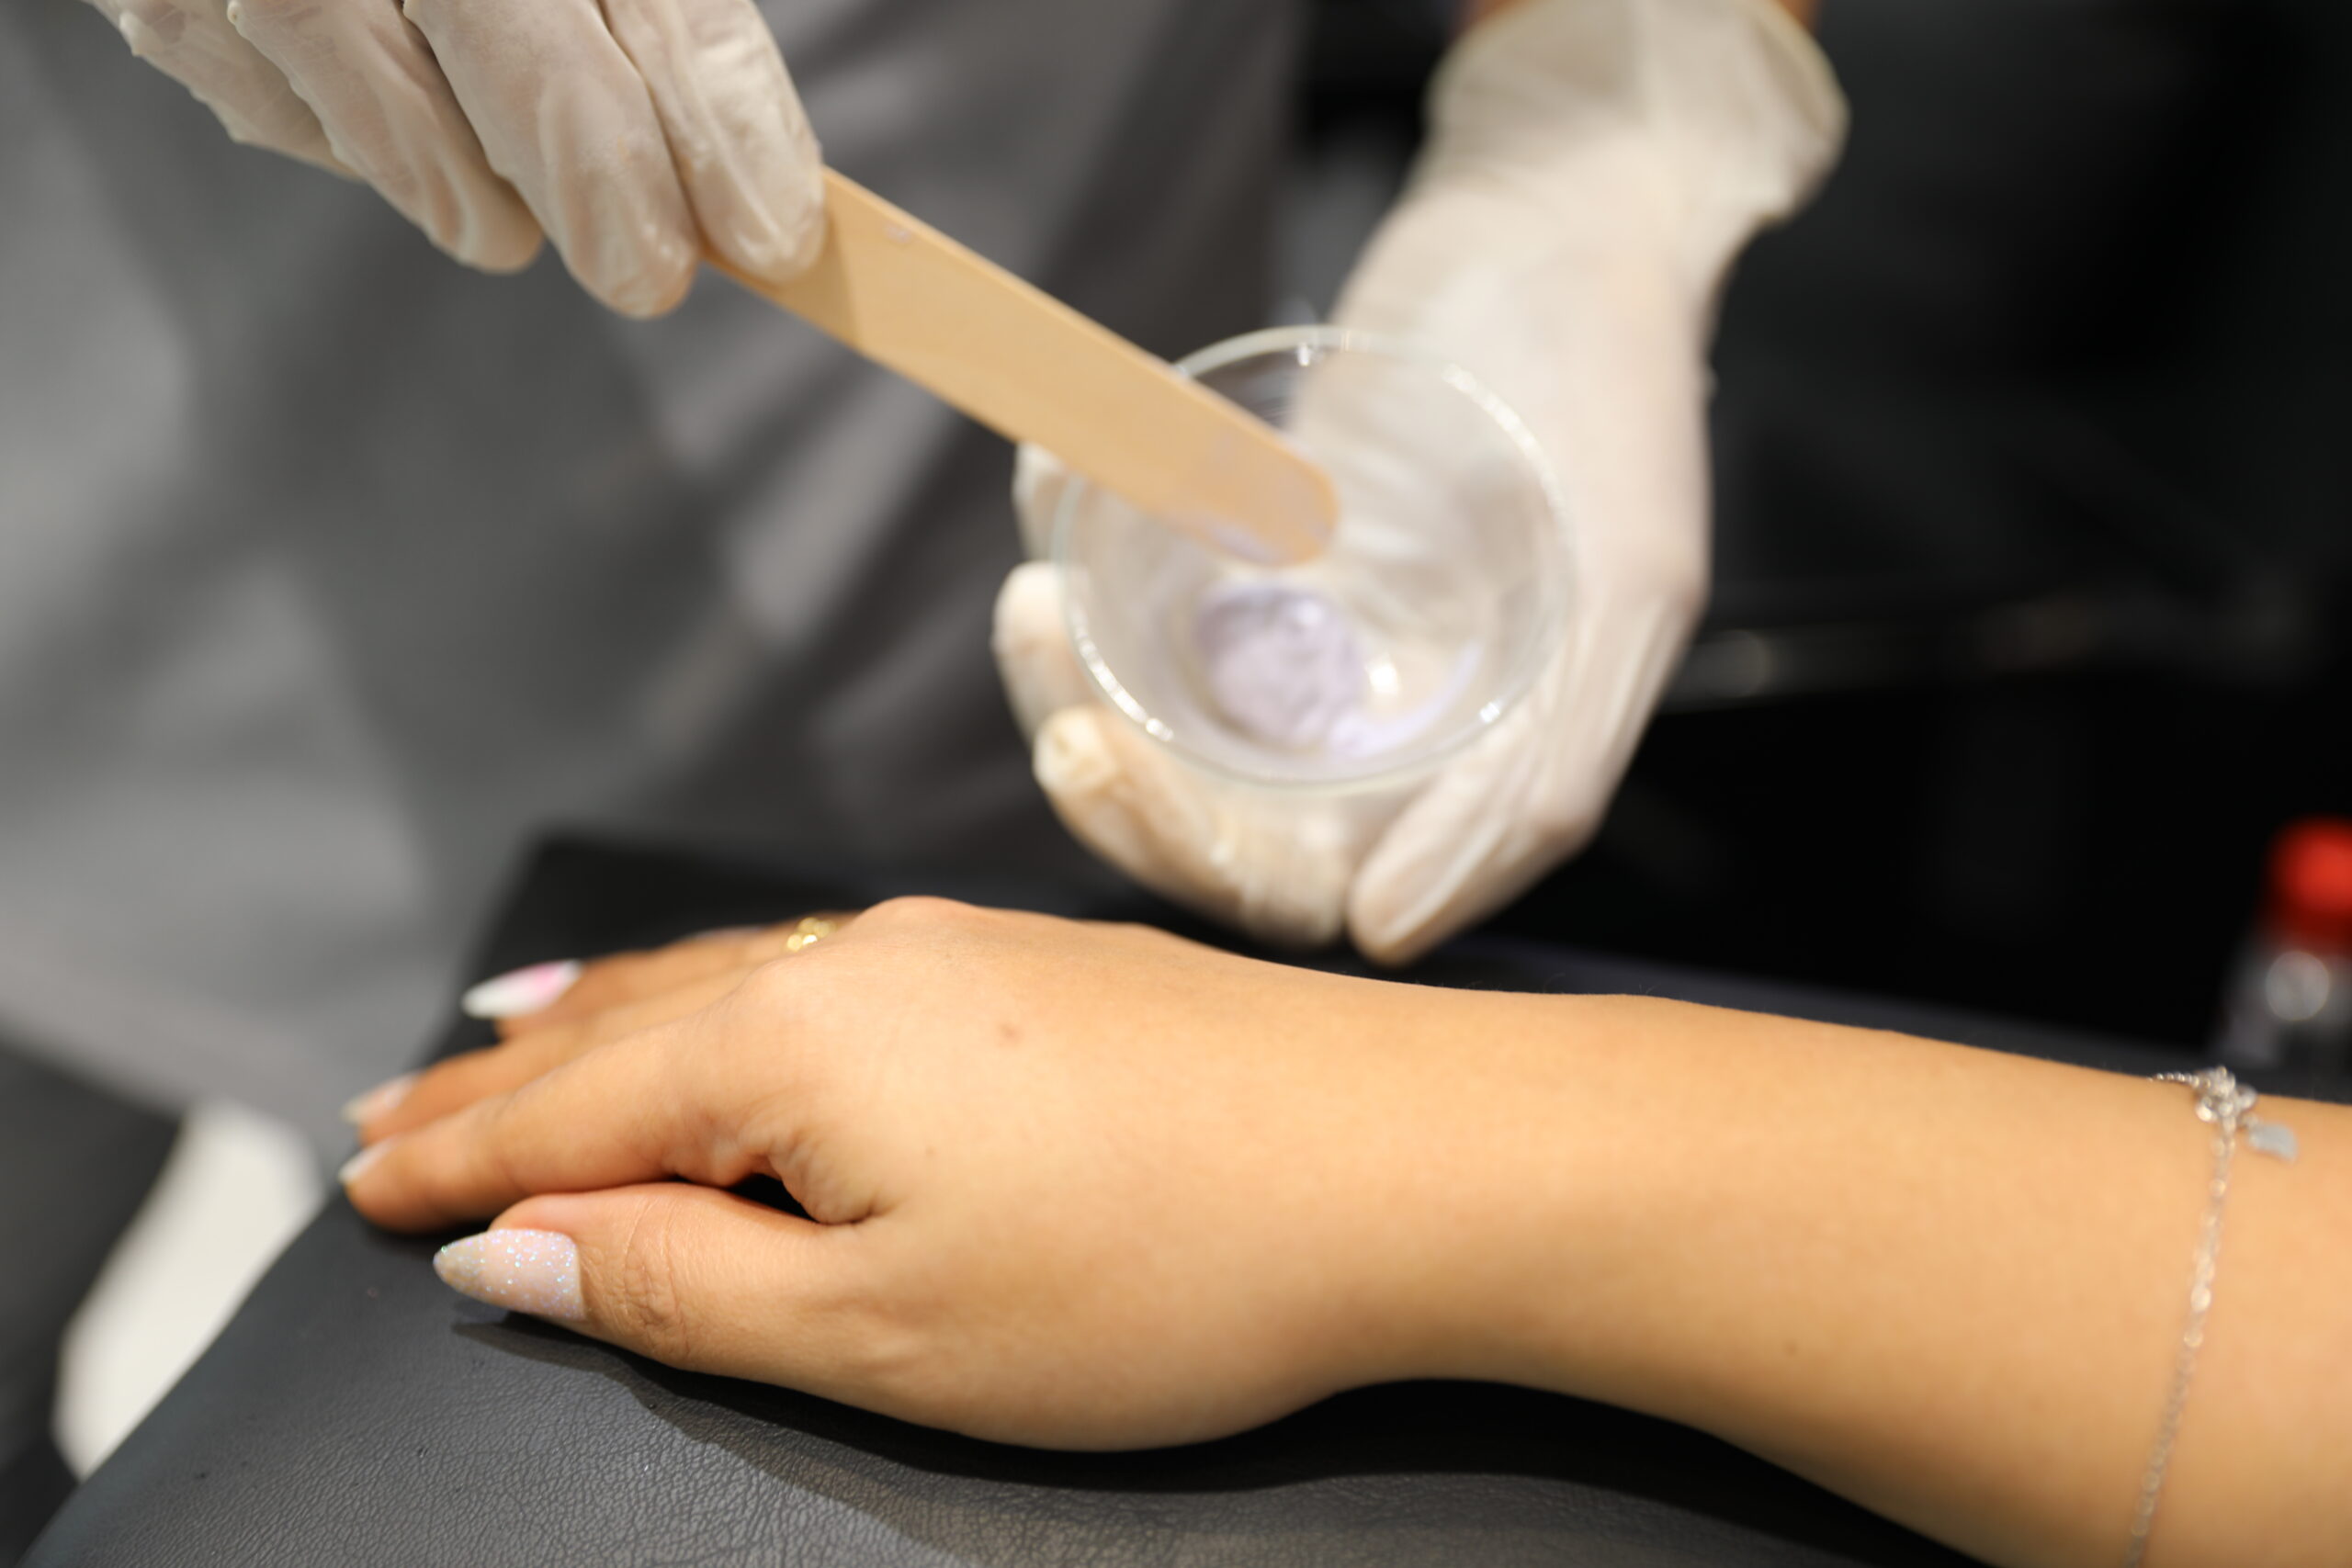
- Base Coat: Apply a thin, even layer of base coat to your nails, making sure to cover the entire nail surface. Cure the base coat under the UV/LED lamp for 30-60 seconds to harden it.
- Color Coat: Apply a thin layer of your chosen gel color. Be careful not to apply the color too thickly, as this can cause uneven curing and chipping. Cure the color under the lamp for 30-60 seconds, and then apply a second layer if necessary.
- Top Coat: Finish with a layer of top coat to seal the color and give your nails a glossy finish. Cure under the lamp for 30-60 seconds, and you’re done!
4. Aftercare Tips
To keep your nails looking fresh for as long as possible, follow these aftercare tips:
- Use Cuticle Oil: Regularly apply cuticle oil to keep your nails and cuticles hydrated. This will help prevent dryness and maintain the health of your nails.
- Avoid Water Exposure: Try to avoid soaking your nails in water for the first 24 hours after application, as this can affect the curing process.
- Wear Gloves: When doing household chores or working with water, wear gloves to protect your nails and prevent premature wear.
Common Mistakes to Avoid When Applying Gel Nail Polish
Even though applying gel nail polish can seem straightforward, there are a few common mistakes that can affect the longevity of your manicure. Avoid these missteps to ensure your nails stay flawless for weeks:
- Applying Thick Coats: Applying thick layers of gel polish can cause the polish to peel and not cure properly. Always apply thin, even layers for the best results.
- Not Curing Each Layer Properly: Each layer of gel polish needs to be cured fully under the UV/LED lamp. If you skip this step or don’t cure for long enough, the polish may not set properly and could peel or chip prematurely.
- Skipping Base or Top Coat: The base coat is essential for ensuring that the gel polish adheres properly to your nails, and the top coat helps seal in the color and maintain a glossy finish. Skipping either step will result in a less durable manicure.
- Getting Polish on Cuticles: Be careful not to get gel polish on your cuticles, as this can lead to premature lifting and an untidy appearance. Make sure to clean up any excess polish around the edges of your nails before curing.
How to Remove Gel Nail Polish Safely
Removing gel nail polish requires a bit more effort than regular nail polish, but when done correctly, it can be a simple process. Here’s how to remove your gel manicure safely without damaging your nails:
1. Supplies Needed
To remove gel nail polish, you’ll need the following supplies:
- Acetone
- Cotton balls
- Aluminum foil
- Cuticle pusher
2. Step-by-Step Removal Process
- Buff the Surface: Use a nail buffer to lightly buff the top layer of the gel polish. This helps break the seal and allows the acetone to penetrate the polish more effectively.
- Soak in Acetone: Soak cotton balls in acetone and place them on each nail. Wrap your nails in aluminum foil to keep the cotton balls in place and prevent the acetone from evaporating.
- Wait: Leave the cotton balls on your nails for 15-20 minutes to allow the acetone to soften the gel polish.
- Remove the Gel: After the gel has softened, gently push the polish off with a cuticle pusher. Be careful not to force the polish off, as this could damage your nails.
Salon vs. DIY Gel Nail Polish: Which is Better?
While both at-home and salon applications offer unique benefits, each has its own set of advantages depending on your needs. Here’s a comparison to help you decide:
- At-Home Application:
- More affordable and convenient.
- Requires practice to achieve professional-looking results.
- Ideal for quick, simple applications with limited customization options.
- Salon Application:
- Higher cost per visit, but offers longer-lasting results and professional expertise.
- Provides access to more intricate designs and nail art options.
- Enjoy a relaxing and pampering experience in a luxurious salon setting.
While DIY gel manicures can be cost-effective and convenient, salon visits offer the benefit of expert-level precision and more complex design options.
Why Choose Bedashing Beauty for Gel Nail Services?
At Bedashing Beauty, we offer a wide range of services for gel nail polish enthusiasts, whether you’re seeking a classic manicure or an intricate nail art design. Here’s why you should trust us with your gel nail polish needs:
- Comprehensive Service Options: Whether you’re looking for a simple, elegant manicure or something more creative, we have you covered with a variety of gel nail polish services.
- Expert Technicians: Our team of professional nail technicians is highly trained to provide you with a perfect, long-lasting gel manicure every time.
- Luxurious Salon Experience: Enjoy a relaxing atmosphere while we pamper you and give you the perfect nails.
- Convenient Booking: Schedule your appointment online and easily find a time that works best for you.
More Beauty Services at Bedashing Beauty
Looking for a complete beauty transformation? Visit our other services:
Hair Salon: Get the perfect hairstyle for any occasion.
Best Nail Salon: Experience high-quality nail treatments.
Facial Treatment: Rejuvenate your skin with our professional facials.
Conclusion
Gel nail polish is the ultimate solution for long-lasting, glossy nails that require minimal maintenance. Whether you prefer the convenience of a DIY application or the expertise of a professional salon, gel nail polish offers a versatile, durable, and stunning manicure. By following the tips and techniques outlined in this guide, you can achieve the perfect gel manicure that will last for weeks.
Ready to treat yourself to a flawless, long-lasting manicure? Book your next gel nail polish appointment with us at Bedashing Beauty, and enjoy beautiful nails that last and shine!
Note: Read our latest Blogs:
Nail Shapes | French Nails | Nail Colors | Gel Manicure vs Acrylic | Manicure at Home | What is Pedicure and Manicure? | What is a Pedicure?.
Frequently Asked Questions
Q1. How long does gel nail polish last?
A1. Gel nail polish can last up to 2-3 weeks without chipping or fading, offering a longer-lasting option compared to regular nail polish.
Q2. Can I apply gel nail polish at home?
A2. Yes! With the right supplies and a bit of practice, you can apply gel nail polish at home with professional-looking results.
Q3. Is gel nail polish safe for my nails?
A3. When applied and removed properly, gel nail polish is safe. However, excessive use without breaks may cause dryness or damage.
Q4. Can I apply gel polish over regular polish?
A4. It’s best to remove any regular nail polish before applying gel nail polish to ensure the gel adheres properly.
Q5. How do I remove gel nail polish safely?
A5. Buff the surface, soak your nails in acetone, and gently push the gel polish off using a cuticle pusher for safe removal.
Q6. Can gel nail polish cause damage to my nails?
A6. Gel nail polish itself does not damage your nails, but improper removal can lead to damage. Always follow the correct removal process.
Q7. Why does my gel nail polish peel off?
A7. Peeling can occur if the layers are too thick, curing is incomplete, or polish has gotten on the cuticles. Proper technique ensures better results.
Q8. How can I make my gel nail polish last longer?
A8. Hydrate your nails with cuticle oil, avoid prolonged water exposure, and protect your nails with gloves when doing chores to prolong wear.


